NVIDIA 驱动升级指南:535 → 550(RHEL8 / CentOS8)
一、背景说明
本文档记录将 NVIDIA GPU 驱动从 535.161.08 升级至 550.163.01 的完整操作流程,同时完成 Fabric Manager 的版本同步升级。
A、H系列的显卡才会使用到
多 GPU 互联的服务。
Fabric Manager 是 NVIDIA 多 GPU 互联(NVSwitch / NVLink)的核心服务,其版本必须与驱动版本严格一致,否则会导致 GPU 间通信异常甚至服务启动失败。
二、准备工作
- 准备好完整的操作文档,(卸载、重启、下载、安装、重启,验证)
- 禁止调度节点,驱逐已有的
Pod,验证不存在业务pod
三、操作流程
3.1 卸载
3.1.1 卸载驱动
1 | /usr/bin/nvidia-uninstall |
运行 NVIDIA 官方卸载工具,交互式移除通过 .run 文件安装的旧版驱动(570.148.08)。该工具会自动清理驱动模块、库文件及相关配置。
-
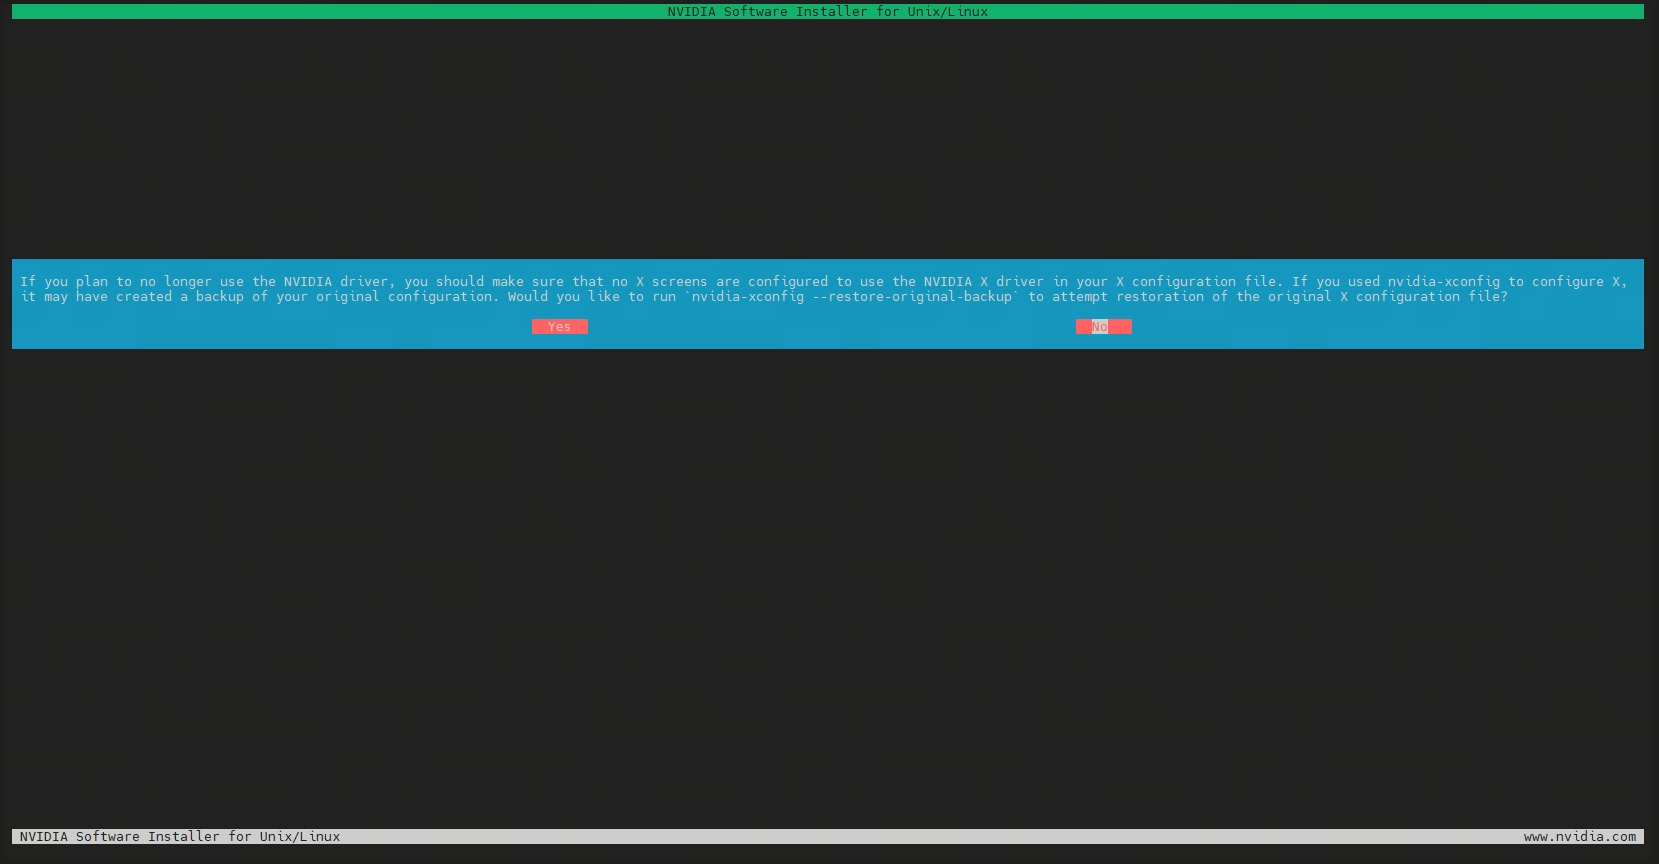
备份
X screen的配置文件(默认no,保持默认)If you plan to no longer use the NVIDIA driver, you should make sure that no X screens are configured to use the NVIDIA X driver in your X configuration file. If you used nvidia-xconfig to configure X,
it may have created a backup of your original configuration. Would you like to runnvidia-xconfig --restore-original-backupto attempt restoration of the original X configuration file?如果您计划不再使用 NVIDIA 驱动程序,请确保您的 X 配置文件中未配置任何 X 屏幕使用 NVIDIA X 驱动程序。如果您曾使用 nvidia-xconfig 来配置 X,
它可能已为您原始的配置文件创建了备份。您是否希望运行nvidia-xconfig --restore-original-backup来尝试恢复原始的 X 配置文件?
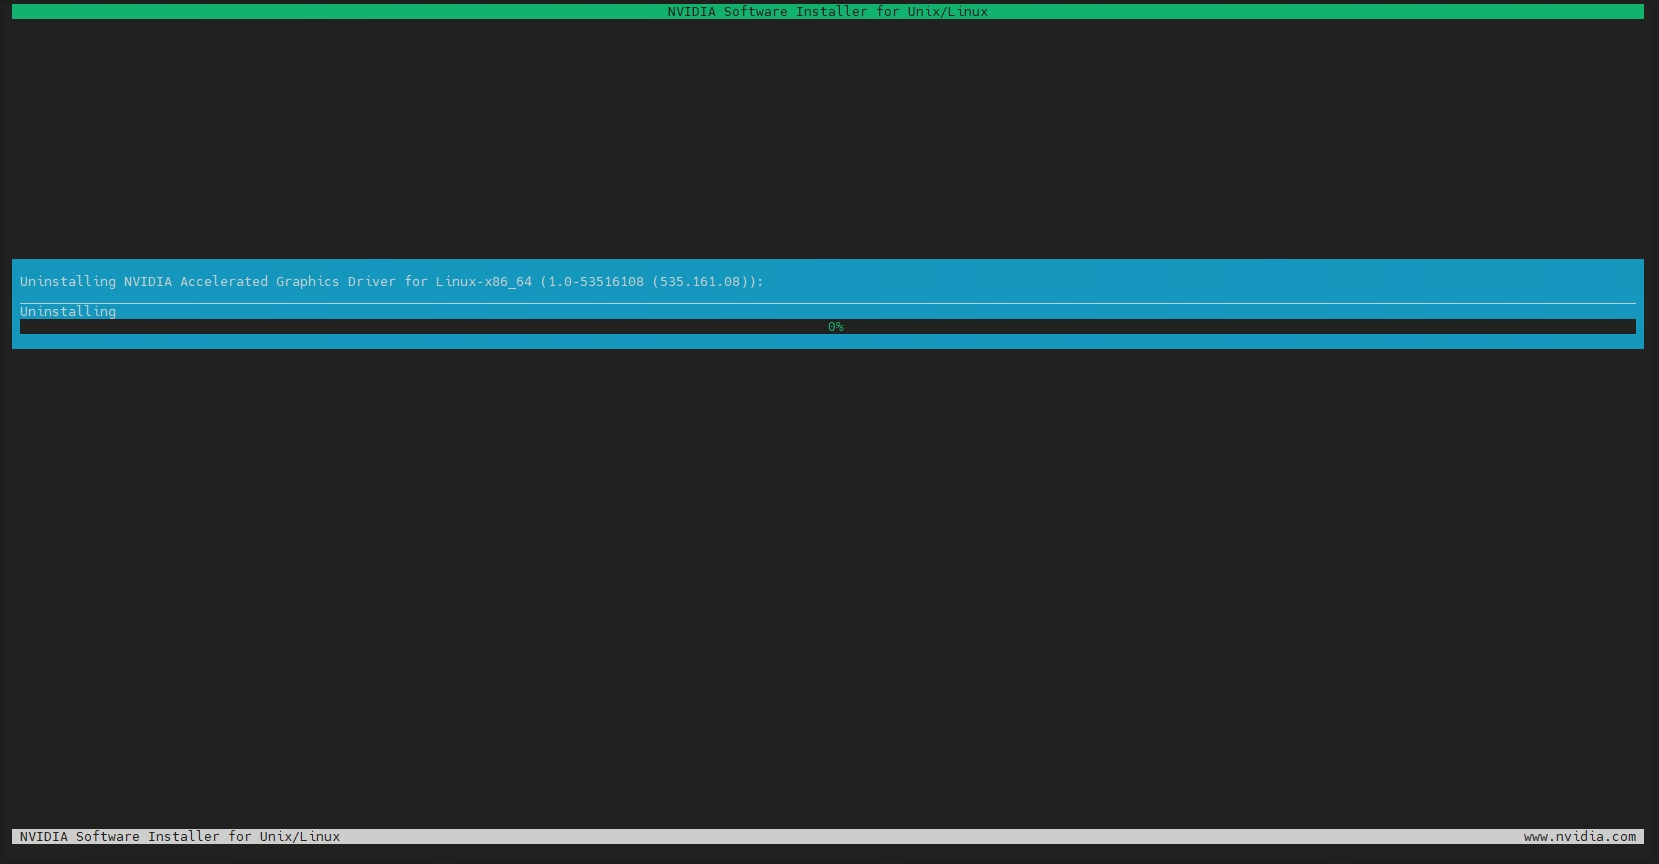
- 等待卸载过程(很快)
-
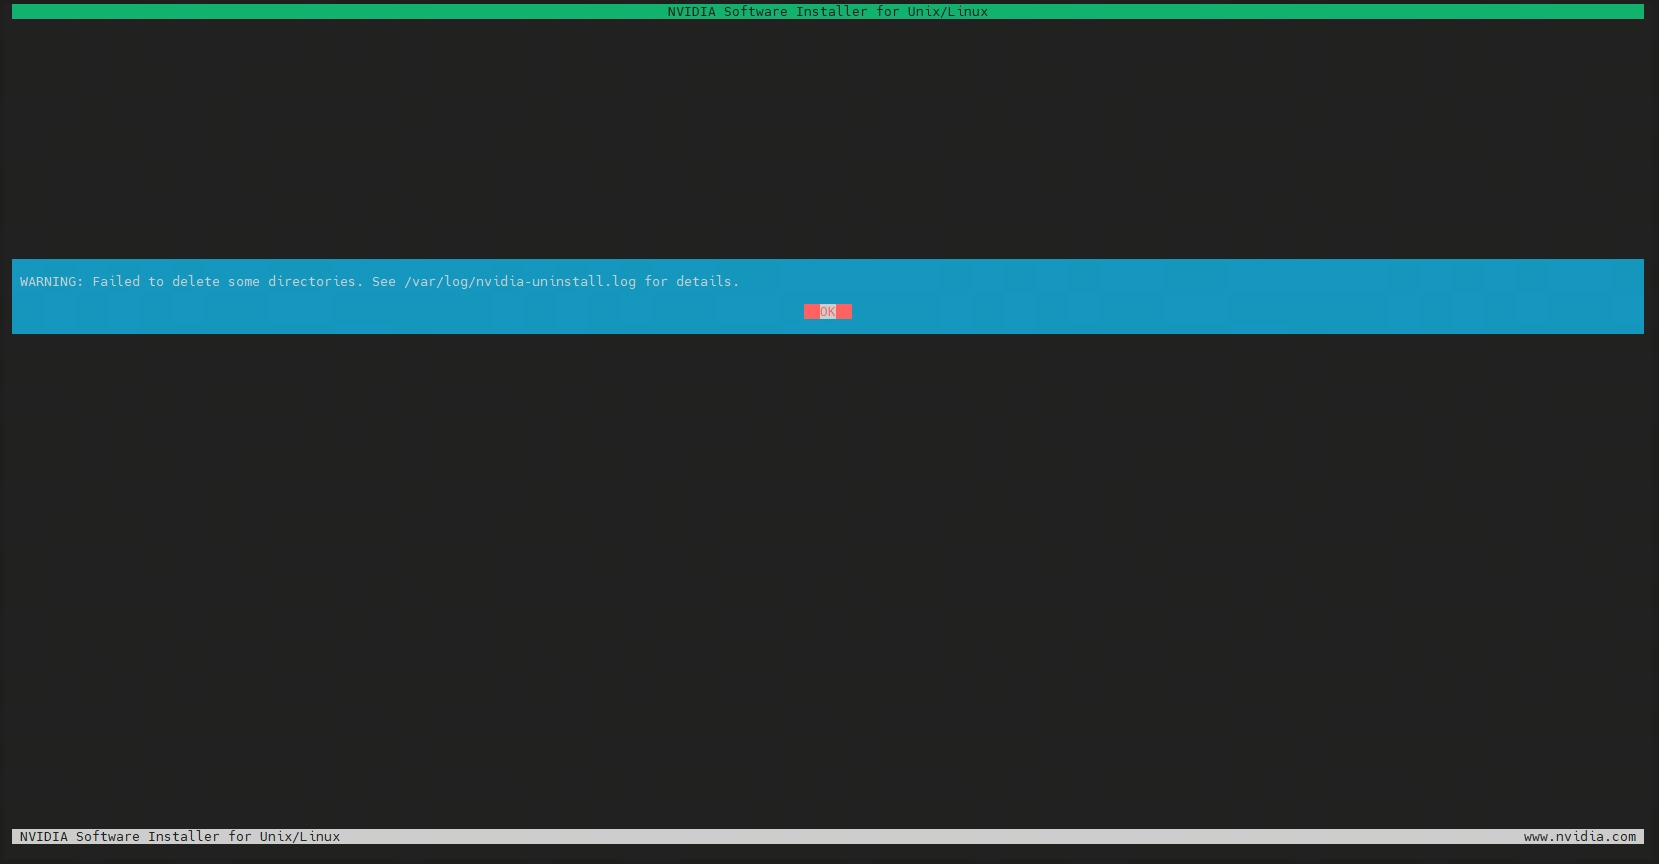
未能删除部分目录的告警
WARNING: Failed to delete some directories. See /var/log/nvidia-uninstall.log for details.
警告:未能删除部分目录。详情请参阅 /var/log/nvidia-uninstall.log。
- 继续等待卸载过程
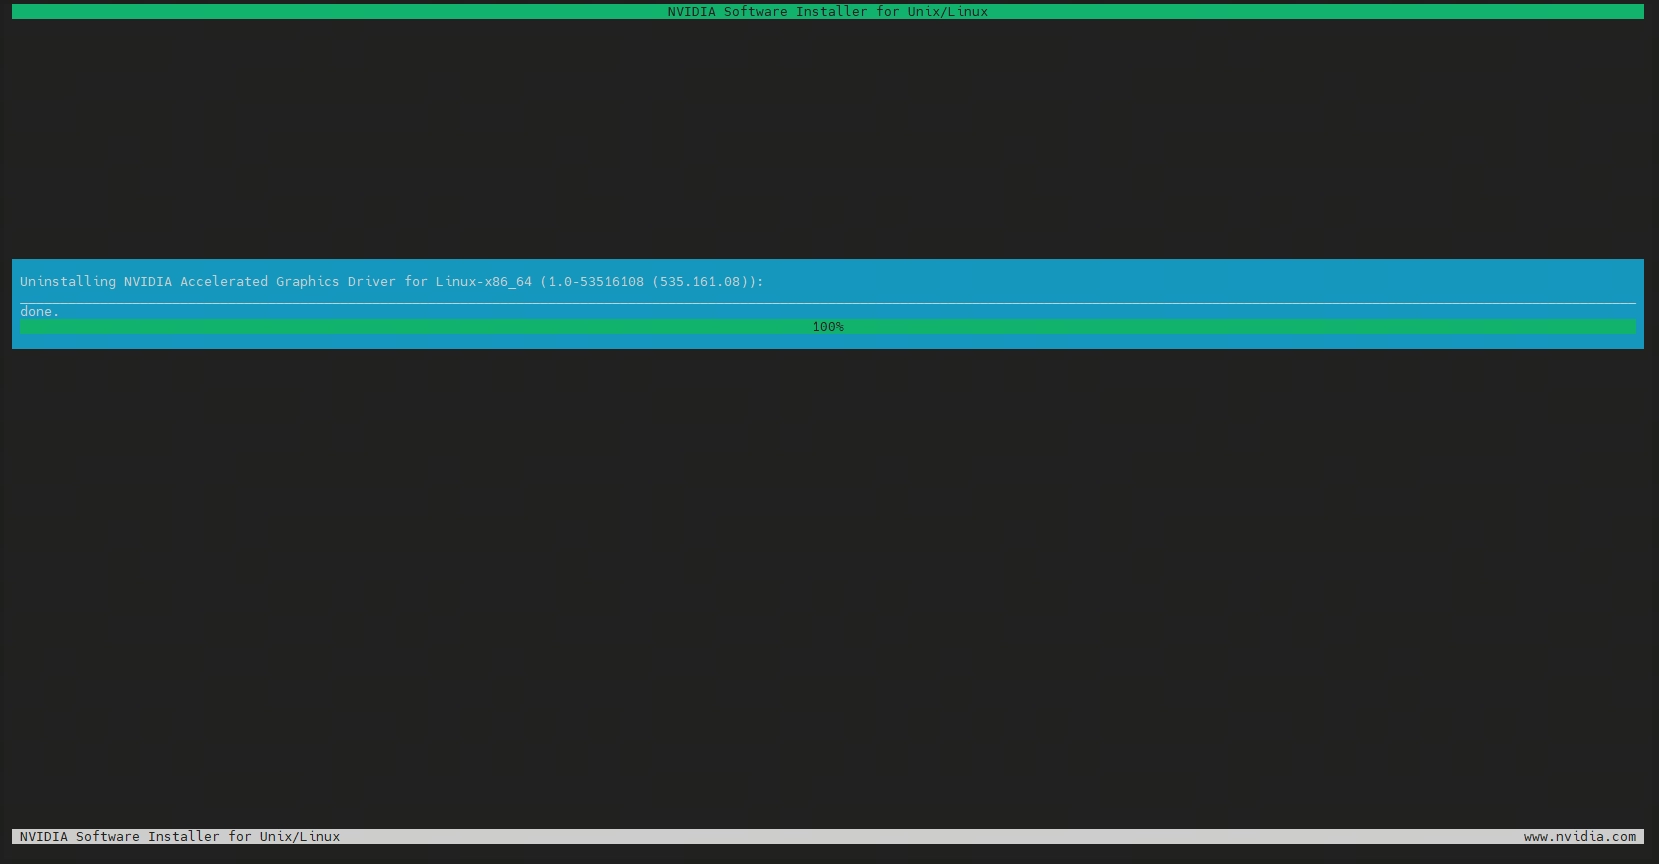
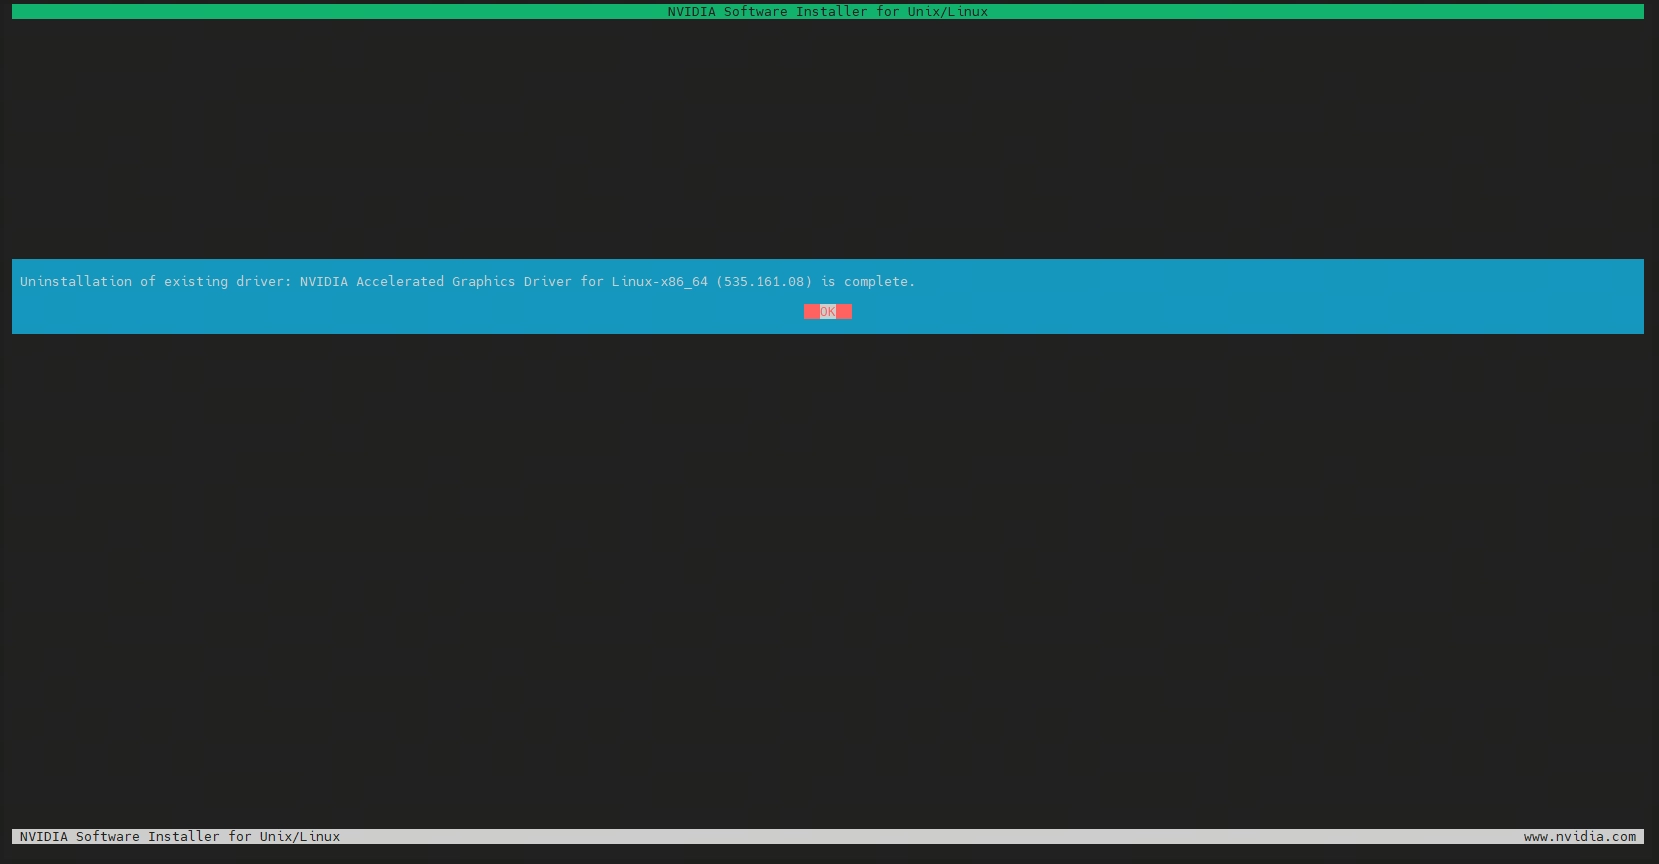
- 卸载完成的提示
Uninstallation of existing driver: NVIDIA Accelerated Graphics Driver for Linux-x86_64 (535.161.08) is complete.
现有驱动程序卸载完成:NVIDIA Linux-x86_64 加速图形驱动程序 (535.161.08)。
3.1.2 卸载 Fabric Manager
- 卸载
1 | rpm -e nvidia-fabric-manager-535.161.08-1.x86_64 |
通过 rpm -e 移除旧版 Fabric Manager 运行时包和开发包。必须在安装新驱动之前完成卸载,避免版本冲突。
- 确认卸载完全。
1 | rpm -qa | grep nvidia |
检查系统中是否还残留其他 NVIDIA 相关包。理想状态下此命令应无输出,如仍有残留包需逐一清理。
这里其实还是有四个包,不影响,无需继续卸载。
1 | nvidia-container-runtime-3.3.0-1.x86_64 |
3.2 重启
推荐先重启,否则会有占用 GPU 的模块,安装时无法通过检查,虽可以强制安装,但会引入不确定性。
已经加载内核模块.
WARNING: An NVIDIA kernel module ‘nvidia-uvm’ appears to be already loaded in your kernel. This may be because it is in use (for example, by an X server, a CUDA program, or the NVIDIA Persistence Daemon), but this may also happen if your kernel was configured without support for module unloading. Some of the sanity checks that nvidia-installer performs to detect potential installation problems are not possible while an NVIDIA kernel module is running.
警告:NVIDIA 内核模块 ‘nvidia-uvm’ 似乎已加载至您的内核中。这可能是因为该模块正处于使用状态(例如,被 X 服务器、CUDA 程序或 NVIDIA 持久化守护进程占用);但也可能是因为您的内核在配置时未启用模块卸载支持。当 NVIDIA 内核模块处于运行状态时,nvidia-installer 用于检测潜在安装问题的一些健全性检查将无法执行。
自检不通过提示
Would you like to continue installation and skip the sanity checks? If not, please abort the installation, then close any programs which may be using the NVIDIA GPU(s), and attempt installation again.
您是否要继续安装并跳过完整性检查?如果不想继续,请中止安装,然后关闭所有可能正在使用 NVIDIA GPU 的程序,并重试安装。
3.3 安装
3.3.1 安装新驱动
- 下载新驱动(从 NVIDIA 官方源下载 580.95.05 版本的 Linux 驱动安装包。)
1 | wget https://download.nvidia.com/XFree86/Linux-x86_64/550.163.01/NVIDIA-Linux-x86_64-550.163.01.run |
- 添加可执行权限
1 | chmod +x NVIDIA-Linux-x86_64-550.163.01.run |
- 安装新版驱动(一路回车)
1 | ./NVIDIA-Linux-x86_64-550.163.01.run -no-x-check -no-nouveau-check -no-opengl-files |
-no-x-check:跳过 X Server 运行检测,适用于无图形界面的服务器环境-no-nouveau-check:跳过开源 Nouveau 驱动冲突检测(生产服务器通常已禁用)-no-opengl-files:不安装 OpenGL 相关文件,避免与系统自带的 Mesa 库冲突,服务器场景推荐
3.3.2 重启
服务器禁用reboot命令的时候,可以
vi一个脚本。
1 | reboot |
3.3.3 安装新版 Fabric Manager
从 NVIDIA CUDA 官方仓库下载并安装与新驱动版本匹配的 Fabric Manager RPM 包。
从
580开始,软件包的名称发生了变化。nvidia-fabric-manager→nvidia-fabricmanager
- 下载
1 | wget https://developer.download.nvidia.com/compute/cuda/repos/rhel8/x86_64/nvidia-fabric-manager-550.163.01-1.x86_64.rpm |
- 安装
1 | yum install nvidia-fabric-manager-550.163.01-1.x86_64.rpm -y |
3.4 启动 Fabric Manager 服务
正常状态下 status 应显示 active (running)。如果启动失败,使用 journalctl -u nvidia-fabricmanager -e 查看详细日志排查。
1 | systemctl enable nvidia-fabricmanager # 设置开机自启 |
四、验证
- 查询驱动版本
1 | nvidia-smi |
- 编写
yaml,临时启动pod测试。
1 | vim gpu-test.yaml |
1 | apiVersion: v1 |
验证
1 | kubectl apply -f gpu-test.yaml |
删除测试 pod
1 | kubectl delete -f gpu-test.yaml |