AI 摘要
通过实验演示Kubernetes RBAC授权,分别使用普通用户和ServiceAccount,结合Role、RoleBinding、ClusterRole、ClusterRoleBinding及kubeconfig证书,验证获取Pod信息和集群信息的不同权限配置过程。
对这一块的内容有些模糊,做个实验理解理解.
一、介绍
1.1 用户管理
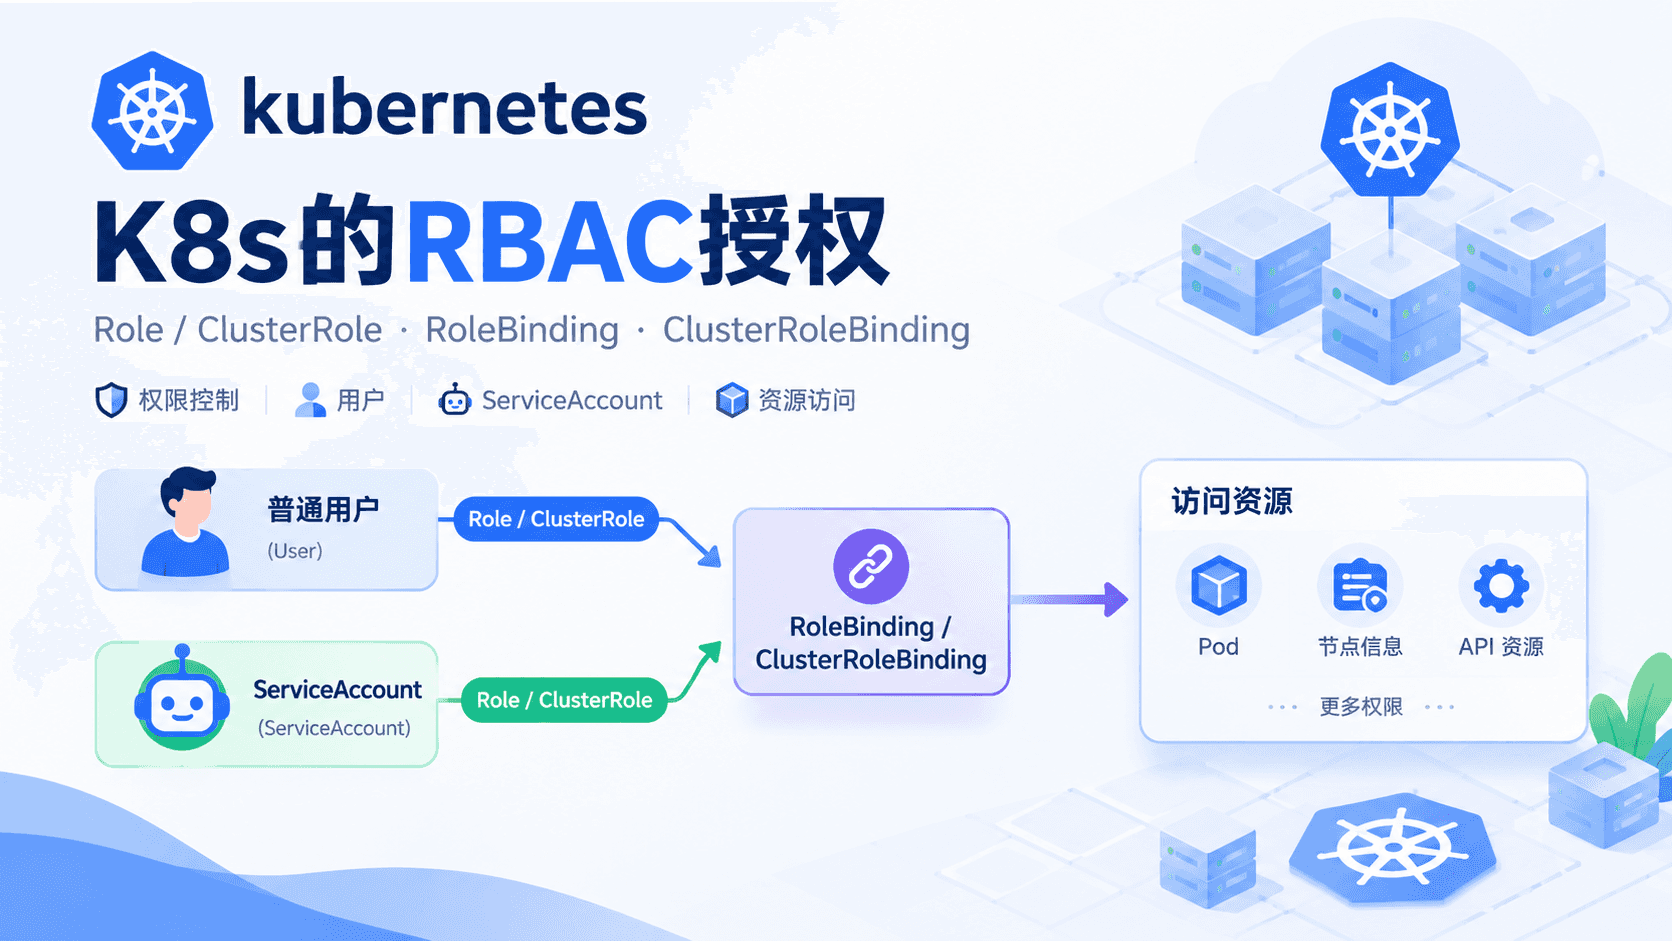
k8s 里有两种用户
普通用户,给人使用的,最终表现就是一个 kubeconfig 文件
ServiceAccount,给程序使用的,让程序可以使用集群内的一些资源
k8s 有两种权限
权限,用于定义某个命名空间下的资源
集群权限,用于定义整个集群的权限
自然而然,会有两种权限绑定方式
权限绑定,用于把权限和用户绑定
集群权限绑定,把集群权限和用户绑定
1.2 实验环境
角色
主机名
ip地址
master
k8s231
192.168.10.231
worker node 1
k8s232
192.168.10.232
worker node 2
k8s233
192.168.10.233
二、普通用户获取 Pod 信息
用户和权限绑定的实验
生成用户证书
1 2 3 4 5 6 7 8 9 10 11 openssl genrsa -out qiankong.key 2048 openssl req -new -key qiankong.key -out qiaoxiong.csr -subj "/CN=qiankong/O=developers" openssl x509 -req -in qiankong.csr \ -CA /etc/kubernetes/pki/ca.crt \ -CAkey /etc/kubernetes/pki/ca.key \ -CAcreateserial -out qiankong.crt -days 3650
配置 kubeconfig
1 2 3 4 5 6 7 8 9 10 11 12 13 14 15 16 17 18 19 20 21 22 kubectl config set-cluster kubernetes \ --certificate-authority=/etc/kubernetes/pki/ca.crt \ --embed-certs=true \ --server=https://192.168.10.231:6443 \ --kubeconfig=qiankong.kubeconfig kubectl config set-credentials qiankong \ --client-certificate=qiankong.crt \ --client-key=qiankong.key \ --embed-certs=true \ --kubeconfig=qiankong.kubeconfig kubectl config set-context qiankong-context \ --cluster=kubernetes \ --user=qiankong \ --kubeconfig=qiankong.kubeconfig kubectl config use-context qiankong-context --kubeconfig=qiankong.kubeconfig
创建 Role
1 2 3 4 5 6 7 8 9 10 apiVersion: rbac.authorization.k8s.io/v1 kind: Role metadata: namespace: default name: pod-reader rules: - apiGroups: ["" ] resources: ["pods" ] verbs: ["get" , "watch" , "list" ]
创建 RoleBinding
1 vim pod-reader-binding.yaml
1
2
3
4
5
6
7
8
9
10
11
12
13
apiVersion: rbac.authorization.k8s.io/v1 kind: RoleBinding metadata: name: read-pods namespace: default subjects: - kind: User name: qiankong apiGroup: rbac.authorization.k8s.io roleRef: kind: Role name: pod-reader apiGroup: rbac.authorization.k8s.io
应用上述配置
1
2
kubectl apply -f pod-reader-role.yaml kubectl apply -f pod-reader-binding.yaml
验证权限
1 2 3 4 5 6 kubectl auth can-i get pods --as=qiankong kubectl auth can-i get nodes --as=qiankong
1 2 3 4 5 kubectl get pods --kubeconfig=qiankong.kubeconfig kubectl get nodes --kubeconfig=qiankong.kubeconfig
三、普通用户获取集群信息
依旧实验上述的用户.
创建 ClusterRole
1 vim cluster-reader-role.yaml
1
2
3
4
5
6
7
8
9
10
11
apiVersion: rbac.authorization.k8s.io/v1 kind: ClusterRole metadata: name: cluster-reader rules: - apiGroups: ["" ] resources: ["nodes" , "namespaces" , "pods" ] verbs: ["get" , "list" , "watch" ] - apiGroups: ["apps" ] resources: ["deployments" ] verbs: ["get" , "list" ]
创建 ClusterRoleBinding
1 vim cluster-reader-binding.yaml
1
2
3
4
5
6
7
8
9
10
11
12
apiVersion: rbac.authorization.k8s.io/v1 kind: ClusterRoleBinding metadata: name: qiankong-cluster-reader subjects: - kind: User name: qiankong apiGroup: rbac.authorization.k8s.io roleRef: kind: ClusterRole name: cluster-reader apiGroup: rbac.authorization.k8s.io
应用并验证
1
2
kubectl apply -f cluster-reader-role.yaml kubectl apply -f cluster-reader-binding.yaml
1
2
kubectl auth can-i get nodes --as=qiankong kubectl auth can-i get pods --as=qiankong -n kube-system
四、ServiceAccount获取 Pod 信息
ServiceAccount 是在 pod 内访问 api-server,不需要证书.
新建 ServiceAccount
1
2
kubectl create namespace rbac-demo kubectl create serviceaccount developer -n rbac-demo
创建 Role 和 RoleBinding
1 2 3 4 5 6 7 8 9 10 11 12 13 14 15 16 17 18 19 20 21 22 23 24 25 apiVersion: rbac.authorization.k8s.io/v1 kind: Role metadata: namespace: rbac-demo name: pod-reader rules: - apiGroups: ["" ] resources: ["pods" ] verbs: ["get" , "watch" , "list" ] --- apiVersion: rbac.authorization.k8s.io/v1 kind: RoleBinding metadata: name: read-pods namespace: rbac-demo subjects: - kind: ServiceAccount name: developer namespace: rbac-demo roleRef: kind: Role name: pod-reader apiGroup: rbac.authorization.k8s.io
应用配置,并验证
1 kubectl apply -f sa-pod-reader.yaml
1 2 3 4 kubectl auth can-i get pods \ --as=system:serviceaccount:rbac-demo:developer \ -n rbac-demo
创建 pod,用于验证权限
1 vim python-verifier.yaml
1
2
3
4
5
6
7
8
9
10
11
apiVersion: v1 kind: Pod metadata: name: py-verifier namespace: rbac-demo spec: serviceAccountName: developer containers: - name: py image: harbor.qx.lab/dockerhub/library/python:3.11-slim command: ["sleep" , "3600" ]
1
2
kubectl apply -f python-verifier.yaml kubectl get pod -n rbac-demo -w
进入 pod 验证
1 kubectl exec -it py-verifier -n rbac-demo -- bash
1 pip install kubernetes -i https://pypi.tuna.tsinghua.edu.cn/simple
1
2
3
4
5
6
7
8
9
10
11
12
13
14
15
16
17
18
19
20
21
22
23
24
25
26
27
28
cat > /tmp/check_pods.py <<'EOF' from kubernetes import client, config config.load_incluster_config() v1 = client.CoreV1Api() print ("=== 当前命名空间下的 Pod 列表 ===" )pods = v1.list_namespaced_pod(namespace="rbac-demo" ) for p in pods.items: print (f" - {p.metadata.name} status={p.status.phase} node={p.spec.node_name}" ) print ("\n=== 尝试读 kube-system 的 Pod(应该被拒绝)===" )try: v1.list_namespaced_pod(namespace="kube-system" ) print (" 意外成功:权限过大!" ) except client.exceptions.ApiException as e: print (f" 预期失败:status={e.status} reason={e.reason}" ) print ("\n=== 尝试读 nodes(应该被拒绝)===" )try: v1.list_node() print (" 意外成功:权限过大!" ) except client.exceptions.ApiException as e: print (f" 预期失败:status={e.status} reason={e.reason}" ) EOF python /tmp/check_pods.py
1 2 3 4 5 6 7 8 9 10 11 TOKEN=$(cat /var/run/secrets/kubernetes.io/serviceaccount/token) CACERT=/var/run/secrets/kubernetes.io/serviceaccount/ca.crt curl -s --cacert $CACERT -H "Authorization: Bearer $TOKEN " \ https://kubernetes.default.svc/api/v1/namespaces/rbac-demo/pods | head -c 500 curl -s -o /dev/null -w "%{http_code}\n" \ --cacert $CACERT -H "Authorization: Bearer $TOKEN " \ https://kubernetes.default.svc/api/v1/namespaces/kube-system/pods
五、SA 获取集群信息
依旧使用上述的 SA 账号
添加集群只读权限
1 vim sa-cluster-reader.yaml
1
2
3
4
5
6
7
8
9
10
11
12
13
14
15
16
17
18
19
20
21
22
23
24
apiVersion: rbac.authorization.k8s.io/v1 kind: ClusterRole metadata: name: cluster-reader rules: - apiGroups: ["" ] resources: ["nodes" , "namespaces" , "pods" ] verbs: ["get" , "list" , "watch" ] - apiGroups: ["apps" ] resources: ["deployments" ] verbs: ["get" , "list" ] --- apiVersion: rbac.authorization.k8s.io/v1 kind: ClusterRoleBinding metadata: name: developer-cluster-reader subjects: - kind: ServiceAccount name: developer namespace: rbac-demo roleRef: kind: ClusterRole name: cluster-reader apiGroup: rbac.authorization.k8s.io
1 kubectl apply -f sa-cluster-reader.yaml
pod 内验证
1 kubectl exec -n rbac-demo -it py-verifier -- bash
1
2
3
4
5
6
7
8
9
10
11
12
13
14
15
16
17
18
19
20
21
22
23
cat > /tmp/check_cluster.py <<'EOF' from kubernetes import client, config config.load_incluster_config() v1 = client.CoreV1Api() print ("=== 集群节点列表 ===" )for n in v1.list_node().items: ready = next((c.status for c in n.status.conditions if c.type == "Ready"), "Unknown") print(f" - {n.metadata.name} Ready={ready} kubelet={n.status.node_info.kubelet_version}") print("\n=== 所有命名空间 ===") for ns in v1.list_namespace().items: print(f" - {ns.metadata.name} phase={ns.status.phase}") print("\n=== 跨命名空间读 Pod(kube-system)===") pods = v1.list_namespaced_pod(namespace="kube-system") print(f" kube-system 下共 {len(pods.items)} 个 Pod") for p in pods.items[:5 ]: print(f" - {p.metadata.name}") EOF python /tmp/check_cluster.py